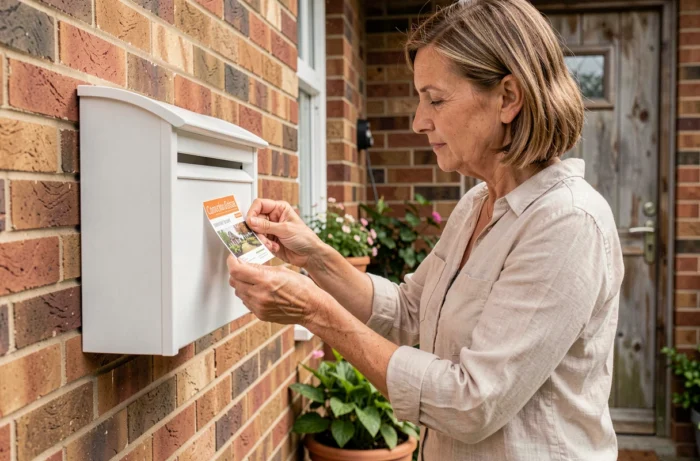
A poorly sized or printed mailbox label degrades within a few months and can lead to mail returns. We recommend treating this project as a full signage job, respecting the constraints of readability, format, and UV resistance even before choosing a template.
Technical printing constraints often overlooked for a mailbox label
The first reflex is to open an online editor and type in your name. Before that, three parameters determine the durability of the result.
The export resolution must reach 300 dpi minimum for a sharp print on small formats. Below this, fine characters (accents, floor numbers) become blurry when printed with a home inkjet printer. Free editors like Canva export by default at 96 dpi for the web: remember to select the high-quality PDF or PNG 300 dpi option.
The choice of paper is as important as the file. A standard office paper (80 g/m²) warps at the first rain. We recommend a matte white vinyl adhesive paper, compatible with inkjet printers, available in pre-cut A4 sheets. This material withstands the elements for one to two years without additional lamination.
Producing a free printable mailbox label of professional quality also requires calibrating the margins: leave at least 2 mm of bleed around the text to prevent a cutting shift from cropping the characters.
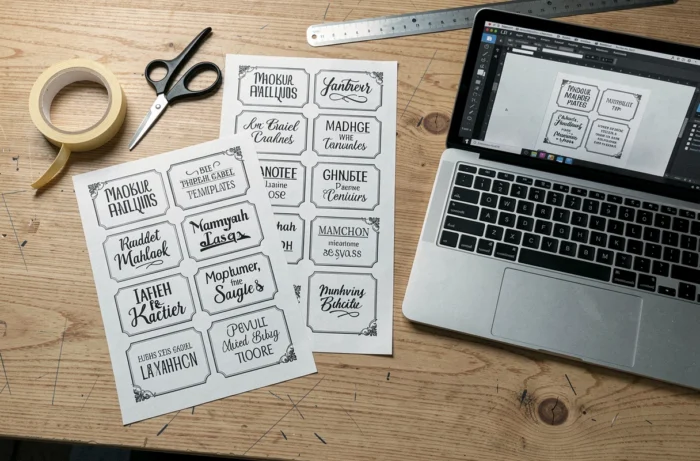
Format and readability: respecting standard dimensions
For individual mailboxes, the most common size for label holders is 93 x 25 mm. This is the template to set in your software. A slightly smaller format works, but a larger format will not fit under the plastic flap.
In shared housing, the situation differs. Recent guidelines remind us that a nameplate of at least 10 mm x 24 mm must be present on each collective mailbox, with the name readable from outside the block. This minimum size applies to the physical nameplate, not the adhesive label, but it sets a readability threshold that we advise never to go below.
Font size and information hierarchy
On 93 x 25 mm, space is limited. Two lines of text are sufficient in most cases: last name in 10-12 pt, first name or additional mention (floor, apartment number) in 8-9 pt. Beyond three lines, reading from a distance of one meter becomes difficult.
Prefer a sans-serif font (like Arial, Helvetica, Roboto) to enhance readability. Decorative or handwritten fonts hinder quick identification by the mail carrier.
Free software to create and customize your label
Three categories of tools coexist, each with different trade-offs.
- Specialized online editors (Canva, Fotor, signage configurators) offer ready-to-use templates in the correct format. Their limitation: high-resolution export sometimes requires a premium account, and the available fonts are limited.
- Office software (LibreOffice Writer, Google Docs) allows you to create a table with exact dimensions (93 x 25 mm) and insert formatted text. This is the most reliable method to control resolution and margins, provided you master the custom page size settings.
- Word or OpenOffice templates provided by label manufacturers (Herma, Avery) directly incorporate the dimensions of their pre-cut sheets. If you purchase compatible label sheets, this is the quickest solution: the alignment is already done.
We observe that the majority of failed labels come from a mismatch between the software template and the physical sheet. Always print a test on plain paper before using your final material, then overlay the test sheet on the adhesive sheet to check the alignment.
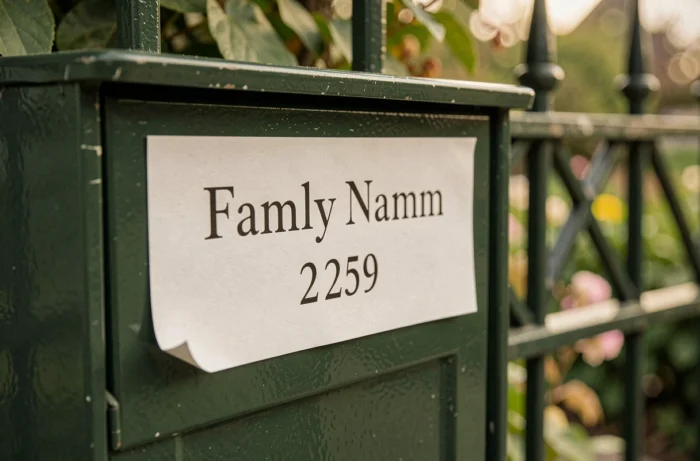
Readable name on the mailbox: a requirement linked to mail delivery
Beyond aesthetics, the absence of a readable name on a mailbox can pose a concrete problem. The general terms of sale of La Poste specify that the mail carrier is not obliged to deliver a letter if the recipient’s name is not visibly displayed on the mailbox. A registered letter returned to the sender for “recipient unknown at this address” often results from an absent or illegible label.
In the case of shared housing or a shared mailbox, each occupant must be listed on the label. Separate names with a “/” or list them on separate lines. If space is limited, two overlapping labels are preferable to one overloaded label.
STOP PUB mention and coexistence with the name label
The STOP PUB system remains the only rule applicable throughout France since the end of the “Oui Pub” experiment on May 1, 2025. The STOP PUB sticker is placed next to the name label, never over it. Be careful not to cover your name: a poorly positioned advertising sticker can partially obscure the identity and cause the same delivery errors.
Protecting the printed label from the elements
A label exposed outdoors without protection fades within weeks due to UV exposure. Two simple solutions extend its lifespan:
- The transparent adhesive lamination film, available in A4 sheets, which is applied to the label after printing. It adds a barrier against water and UV rays.
- The plastic flap integrated into most standardized mailboxes, which protects the label slipped underneath. In this case, use cardstock instead of adhesive vinyl: the label remains removable if you move.
- For boxes without a flap, a piece of wide transparent packing tape (50 mm) applied over the entire surface of the label offers basic but effective protection for several months.
A well-designed label, printed on the right material and protected from the elements, lasts for several years without intervention. The time spent calibrating the file and choosing the appropriate paper avoids having to redo the operation every season.